Sizing

Link to nail sizes & specs

 How to Find Your Correct Size

Like clothing, each nail has a specific measurement.  And just like designers, each nail shop may have different sized nails, so it's best to use my 'Fit Kit" 

Your nails are made to order, so may order your nails in a "standard size" pre-set, or order them in custom sizes once you establish your measurements. Sizing varies by small increments, so you should be able to find your perfect fit.. There is no additional fee for custom sizes, and its recommended you order custom sizes for the best looking fit and most comfortable fit.

1. Order a Fit Kit

2. Measure your nails

3. Virtual Measuring with the "Dime Method"


In cases where a specific size has not been selected, the default size for the selected product will be a standard medium. It is the client's responsibility to ensure that the default size aligns with their requirements.

**Some clients have natural nail beds that are not easily fit.  If you think you are someone with particularly flat, scooped/shoveled, or overly curved nail beds, please consider this when choosing a shape. If you have a particular nail issue where you would like a consult, Please contact me with questions.

The best way to find your sizes is with my Fit Kit Sample Sizing Pack.  Buy it here  

How Sizes Work

No additional fee for custom sizes.  Just select "custom" from the size options, then leave me a note what your sizes are: thumb to pinky. 

**Shape/sizes are not all universal.  This a general guideline - some sculpted nails may fit slightly more narrow as a result of their shape.  Ensure your fit before placing your order; I offer many ways to get your perfect size.  Misfits can not be exchanged/refunded


 It is also important to note that *nail measurements are NOT necessarily 1:1. Even though you're nail may measure 13 mm from side to side, some nail shapes, which are very curved, even though they measure 13 mm, they may FEEL too tight, requiring you to size up. This is why a fit kit is the most accurate way to find your nail size.
Also you can check out my step by step video guide on how to measure
or you can watch a "how to" video tutorial here 


Print this Measurement Notes Worksheet to help you record your measurements.

Virtual Measuring with the "Dime Method"

 The dime method is a way to virtually estimate your sizing based on the birdseye width of your nail bed using a 1:1 two dimensional comparison. I use this method to quickly size clients when they don't have time to order a "fit kit" or when measuring their nails is overwhelming. Often times this method is very successful in finding your accurate size. While this is a useful method to finding your size, the best way to ensure an actual comfortable fit is with the "fit kit" where you can evaluate the nail from a three dimensional fit.

I understand the importance of getting the perfect fit for your nail products. To ensure a satisfactory experience, I have established a sizing policy that outlines the responsibility of the client in determining their correct size match. Please read the following guidelines carefully:

  1. Client Responsibility: It is the client's responsibility to ensure the correct size match for their nail products. This can be achieved by reviewing our comprehensive sizing chart and information provided on the website.

  2. Fit Kit Purchase: For the most accurate sizing, we highly recommend clients purchase our Fit Kit, specially designed to help you find the perfect fit. The Fit Kit includes a range of nail sizes, making it easier for you to try them on and find the one that best suits your needs. To enhance accuracy, we recommend that clients purchase a Fit Kit in the specific nail shape they are looking to order. This will help them make an informed decision on the size that suits their chosen shape.

  3. Self-Measurement Option: Alternatively, clients have the option to measure their own nails following our detailed instructions and select a size they believe will work best for them. Please exercise caution and precision when measuring to ensure accurate results.

  4. Non-Guaranteed Sizing: It is essential to note that sizing is not guaranteed, as nail sizes may vary from shape to shape. Each nail shape may require a slightly different size, which is why I strongly advise the use of the Fit Kit to find the perfect match.

  5. Default Size: In cases where a specific size has not been selected, the default size for the selected product will be a standard medium. It is the client's responsibility to ensure that the default size aligns with their requirements.

At Queen Custom Claws, I value customer satisfaction and strive to provide the best products and services. I believe that adhering to the sizing policy will contribute to a smoother and more enjoyable shopping experience for clients.

If you have any questions or require further assistance with sizing, please do not hesitate to contact me. I am here to help and ensure that you find the perfect fit for your nail products. Thank you for choosing Queen Custom Claws for your nail care needs.


Thank you for purchasing your Queen Custom Claws!

Here are some helpful videos and links to guide you through your press-on nail journey!

With these helpful tips & tricks you'll maximize nail retention & keep your claws looking their best. Finally, you'll discover how to maintain the health of your natural nails with careful removal of your press-ons. Of course contact me with any questions!

Application, Care, & Removal

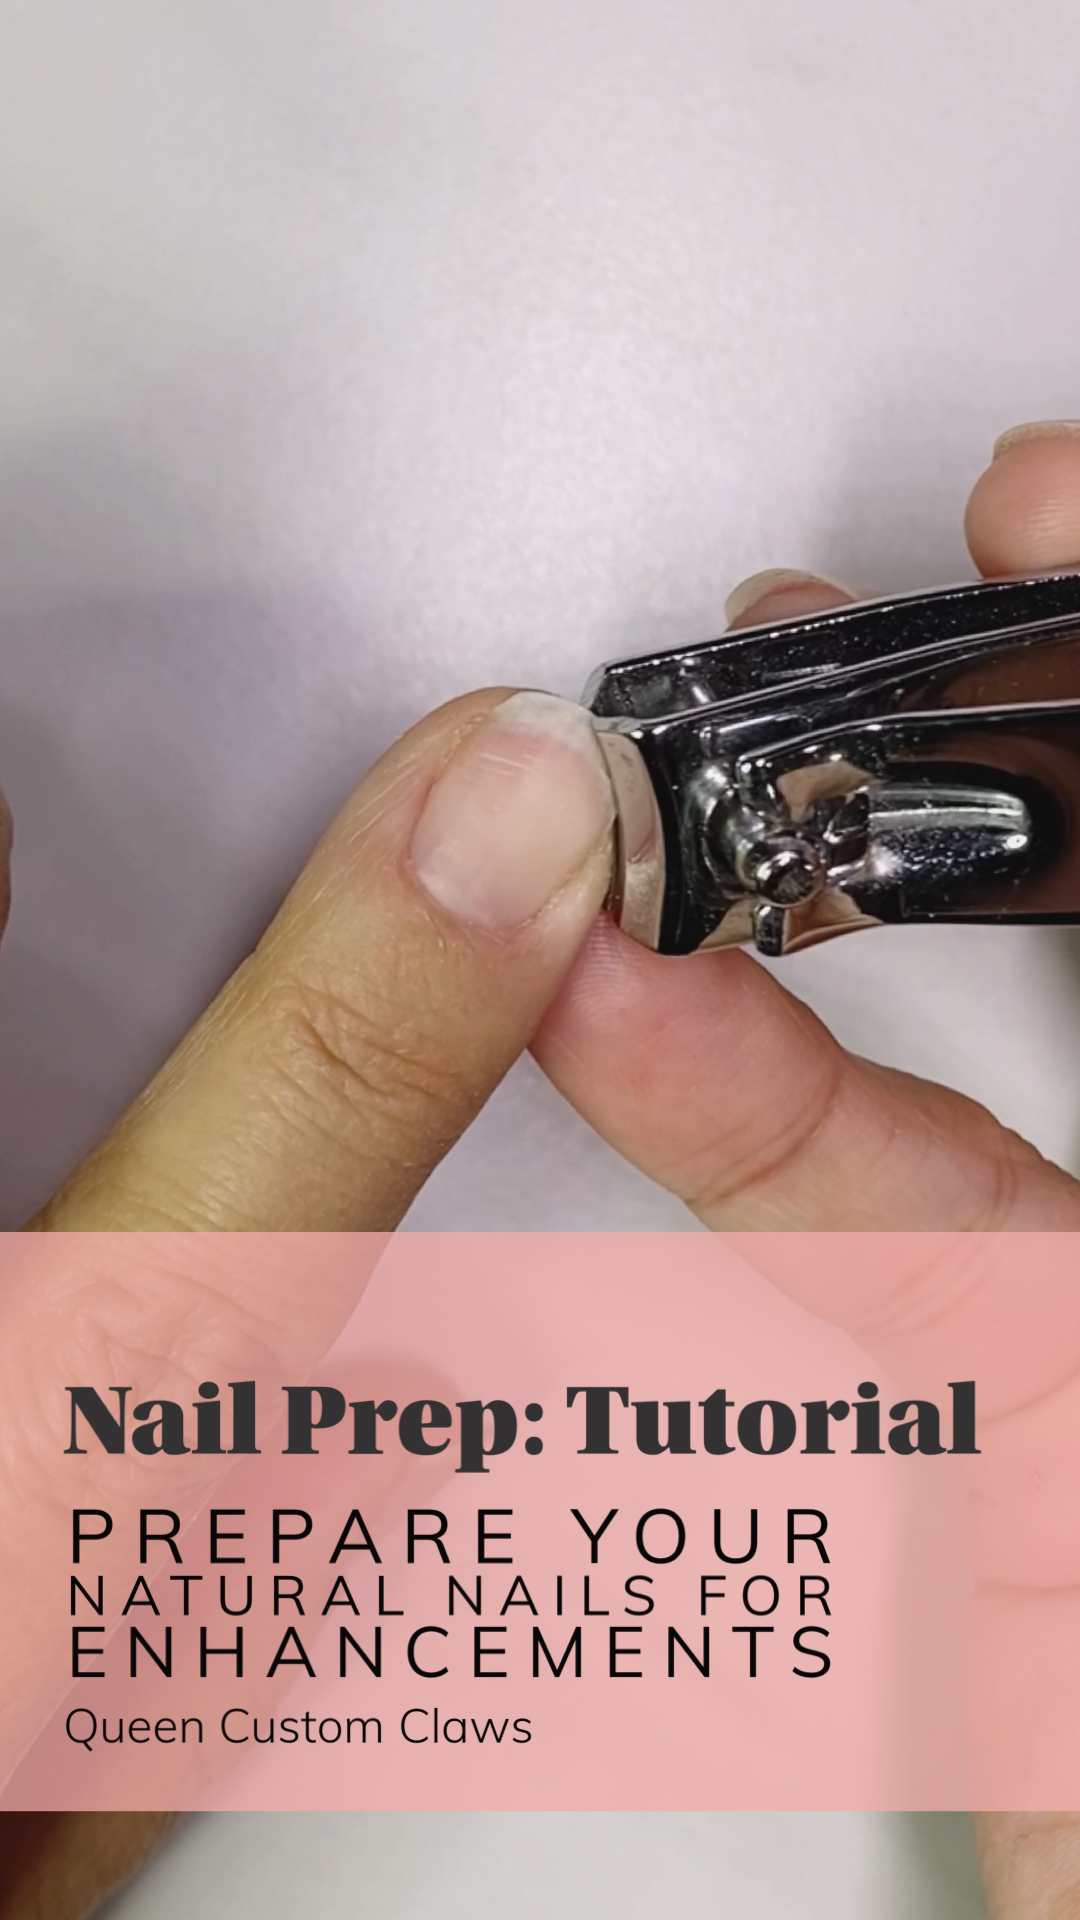
Learn how to properly prepare your natural nails for enhanced press-on nail retention.

watch now

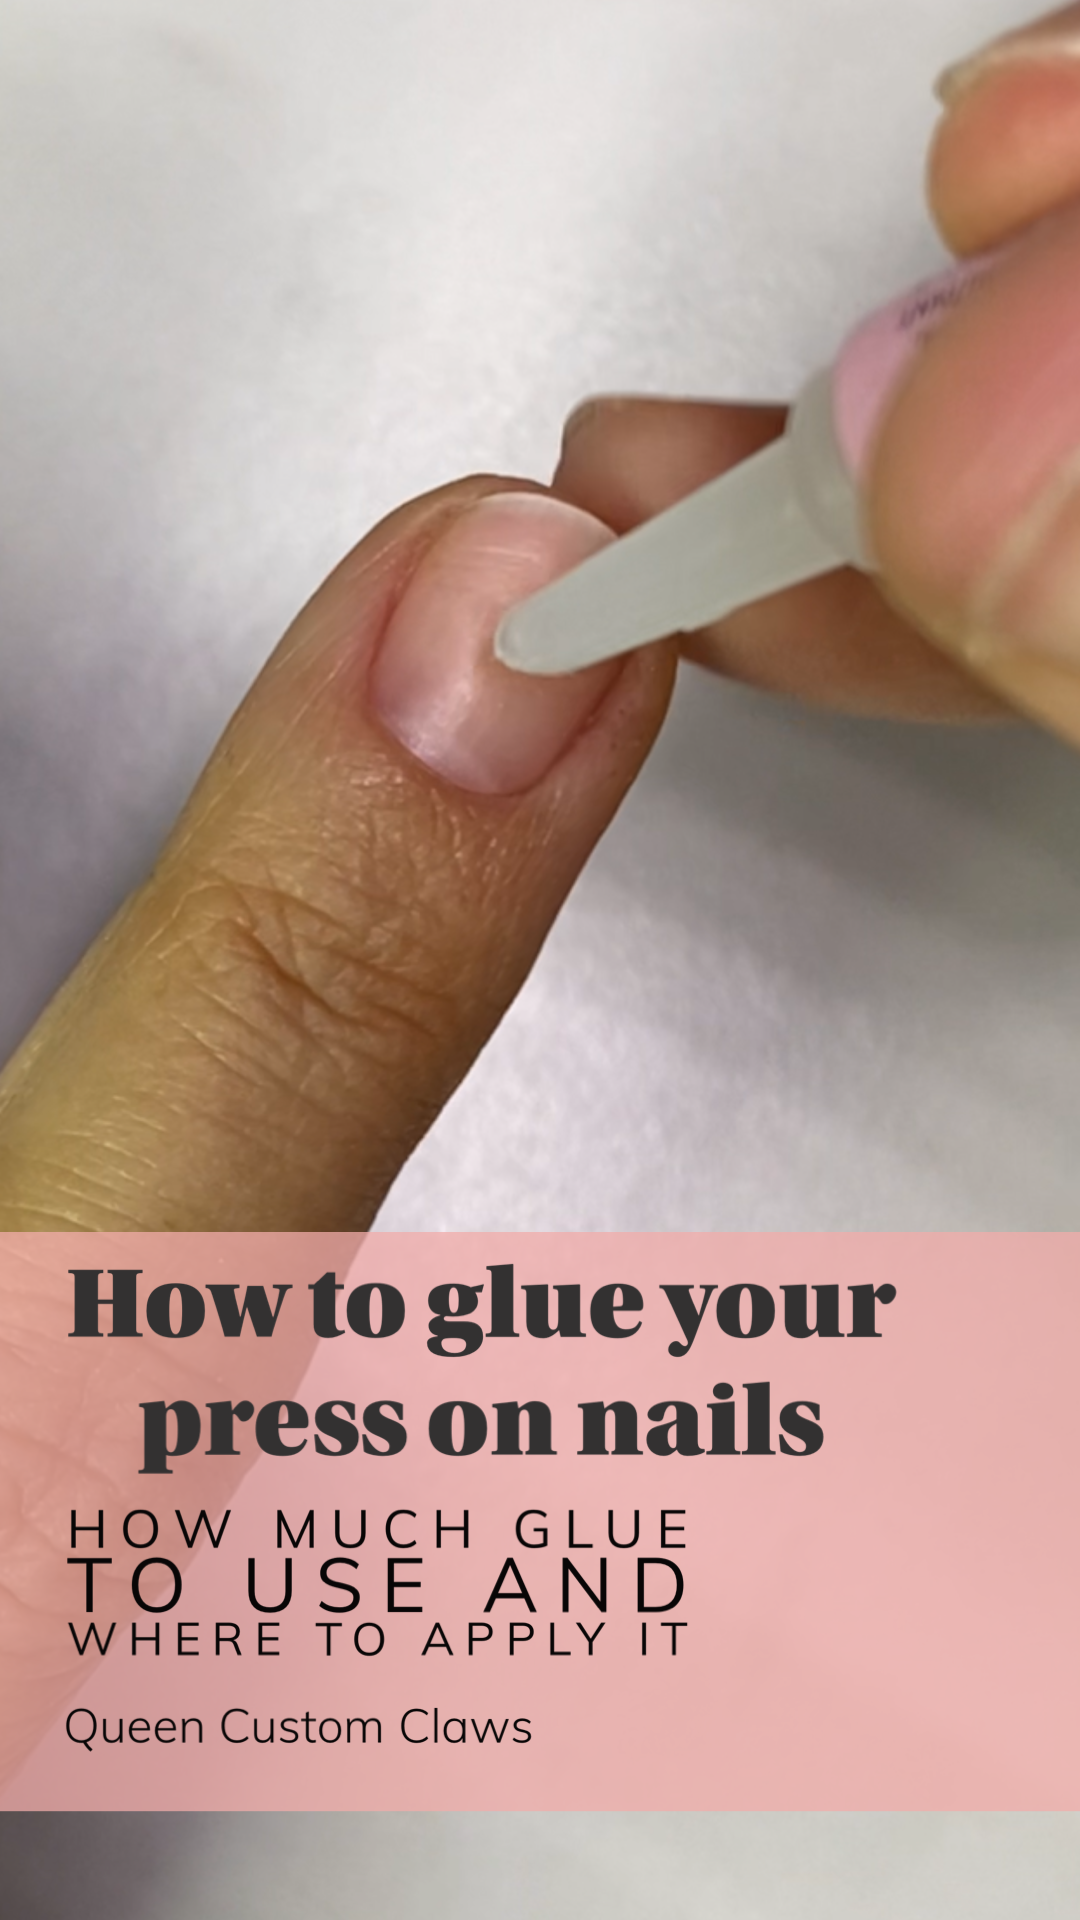
Get a perfect visual for the proper amount of glue to use when applying your nails.

Watch now

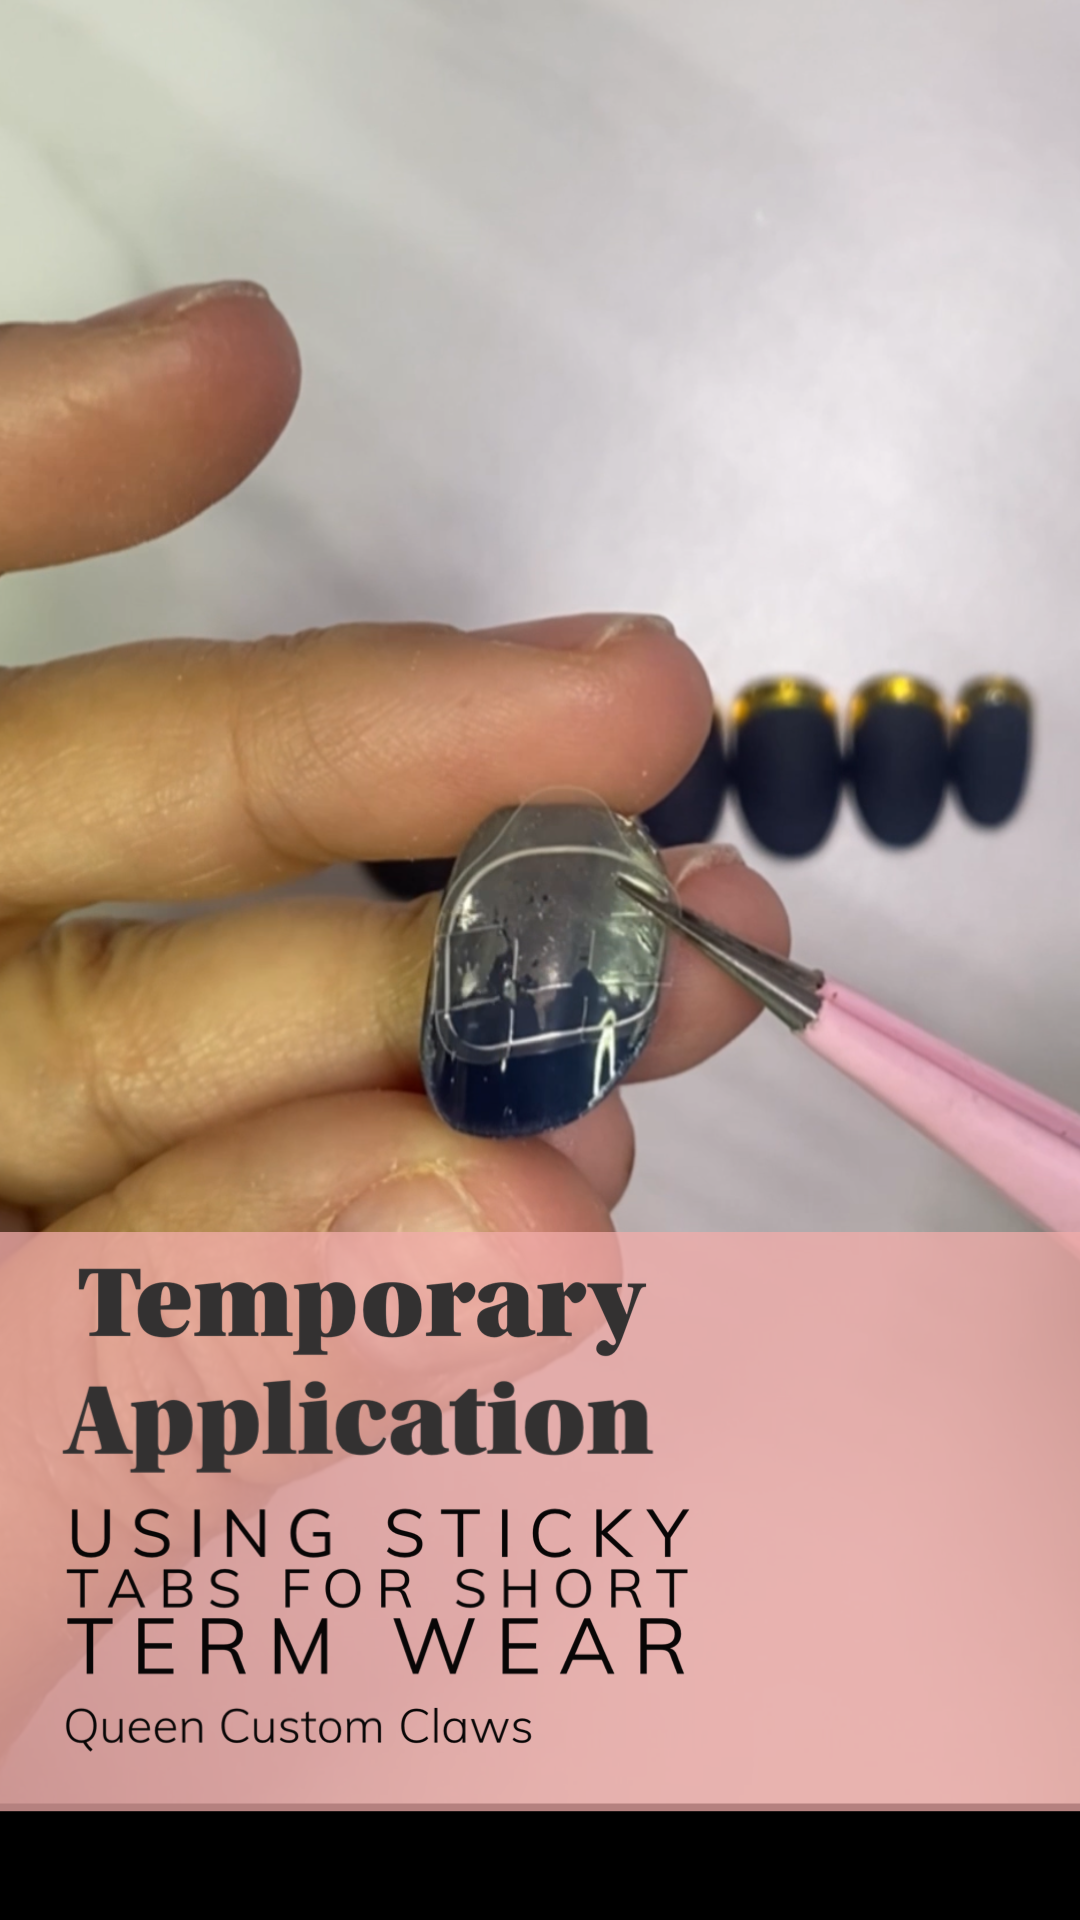
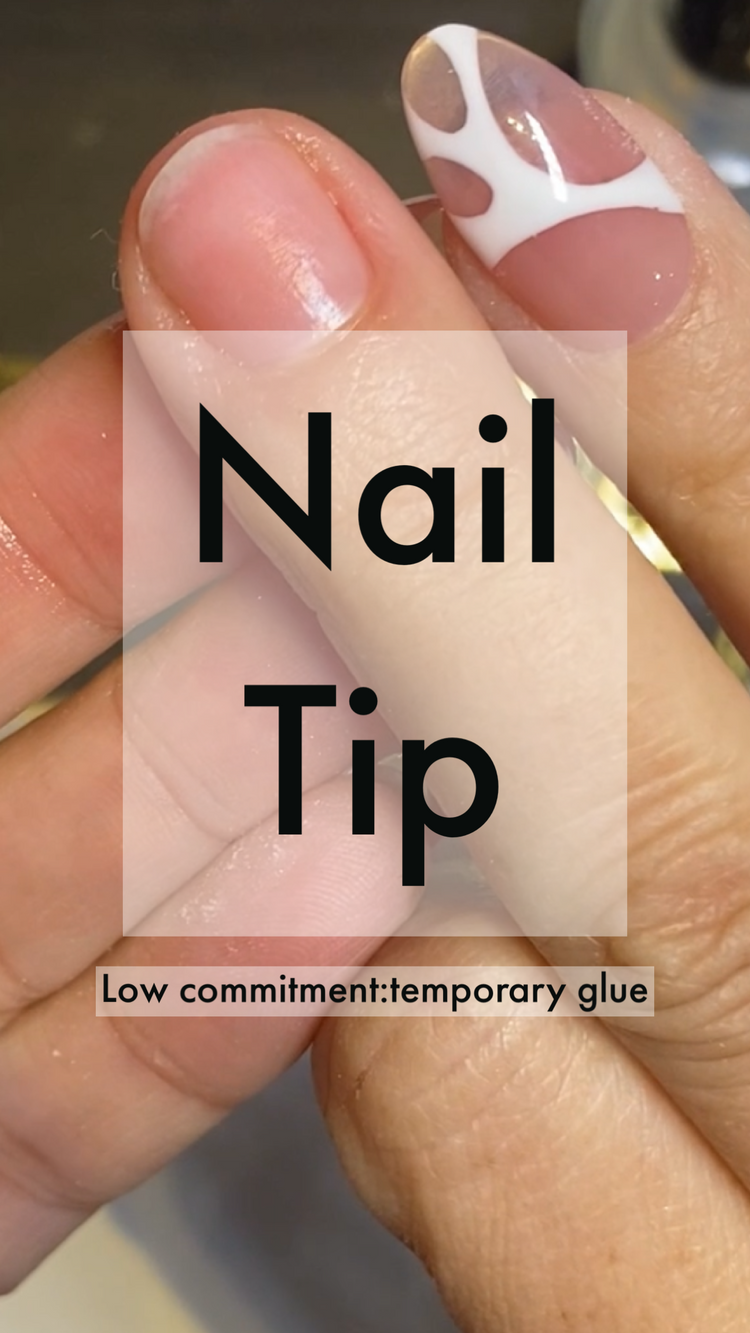
Use sticky tabs for temporary nail application, or to hold pop offs til removal.

Watch now

Application

Use glue or double sided gel stick pads to apply your nails. Check out the application prep kit!

1: Clean and dry your hands and nails
2: Push back cuticles
3: Clip or file and shape natural nails
4: Use alcohol wipes to dehydrate the nail beds
5: FIRST DRY FIT NAILS TO ENSURE PROPER FIT.  Glue/ stick nails on one by one, pressing and holding for 15-30 seconds to ensure hold
6: Avoid water for the next hour
*TIP. Substitute your favorite glue that works best with your body chemistry. 
*TIP. Using a nail primer is useful to dehydrate the nail bed prior to application. Sally Beauty offers a variety of primers and nail adhesives. IBD is great for long wear.

**Please note, when applying (especially w/Bling Nails) take care not to over bend the "C" curve  by either flattening out the nail too much or by pinching the nail too tight at the side walls; this can cause the gel nail product or gems to pull away from the base. Bling, Chrome, Caviar/microbead and Foil nails are Luxe Nails and as such are not ideal for rigorous wear and tear. It is not uncommon loose a gem.

Care & Maintenance

With proper care, your press-on nails can last up to two weeks. Remembering that nails are jewels, not tools, helps maintain their condition. Selecting nails of an appropriate length and style for your lifestyle ensures longevity.

When wearing matte nails, avoid contact with oils and beauty products which may stain your matte finish. Wash matte nails with dish soap or rubbing alcohol to remove oils or residue.

Finally, oiling your cuticles daily can help prolong the retention of your nails by enhancing natural nail health.

When you are ready to remove your press on nails, proper, and patient nail removal, can help you preserve your nails, so that they can be reworn. If you purchased an application prep kit, you'll find the included tools helpful.

Press-on Nail Removal
Gently remove your press-on nails, not recommended for fresh application, only soak to remove after minimum 5 days post glue application.

How to Remove Your Press-ons

You can remove nails permanently by clipping, filing, & soaking in acetone.  **your custom claws will NOT BE REUSABLE USING THIS METHOD. 

Removing & Reusing your Claws

Be patient and gentle when removing your claws so you can protect your natural nails, and preserve your enhancement claws! 

It’s not recommended to attempt removing newly glued nails or nails glued with resin, acrylic, or gel. To remove nails, soak hands in warm water solution of soap and natural oil.  Soak for a good 10-15 mins. Using the included nail removal tool, slide the pointy flat side around the edges of your nails, gently lifting the edges. Then,  with to the floss side of your tool, slowly slide the floss between your natural nail and your claws. NEVER PULL OR RIP your claws OFF. If you experience discomfort stop immediately and try soaking your hands longer, before trying again. It is important that you never force a nail off, as this can damage your natural nails/nail plate. 
Once your claws are removed, put them back on the included adhesive strip, and tuck them back into the Queen Custom Claws box for later reuse! Collect and expand your nail wardrobe!

you can also watch this video 

Extra "tips" you can't miss!

pamper yourself
YOU KNOW YOU DESERVE IT

Testimonials

My local nail shop could never! I just can't find a place that does this trendy art. So happy I found you!

Sandy

All I have to say is that Jennifer is AMAZING love my set! I've ordered two more sets and can't wait to get them in. Thank you for everything you do Jennifer.

Tiffany